

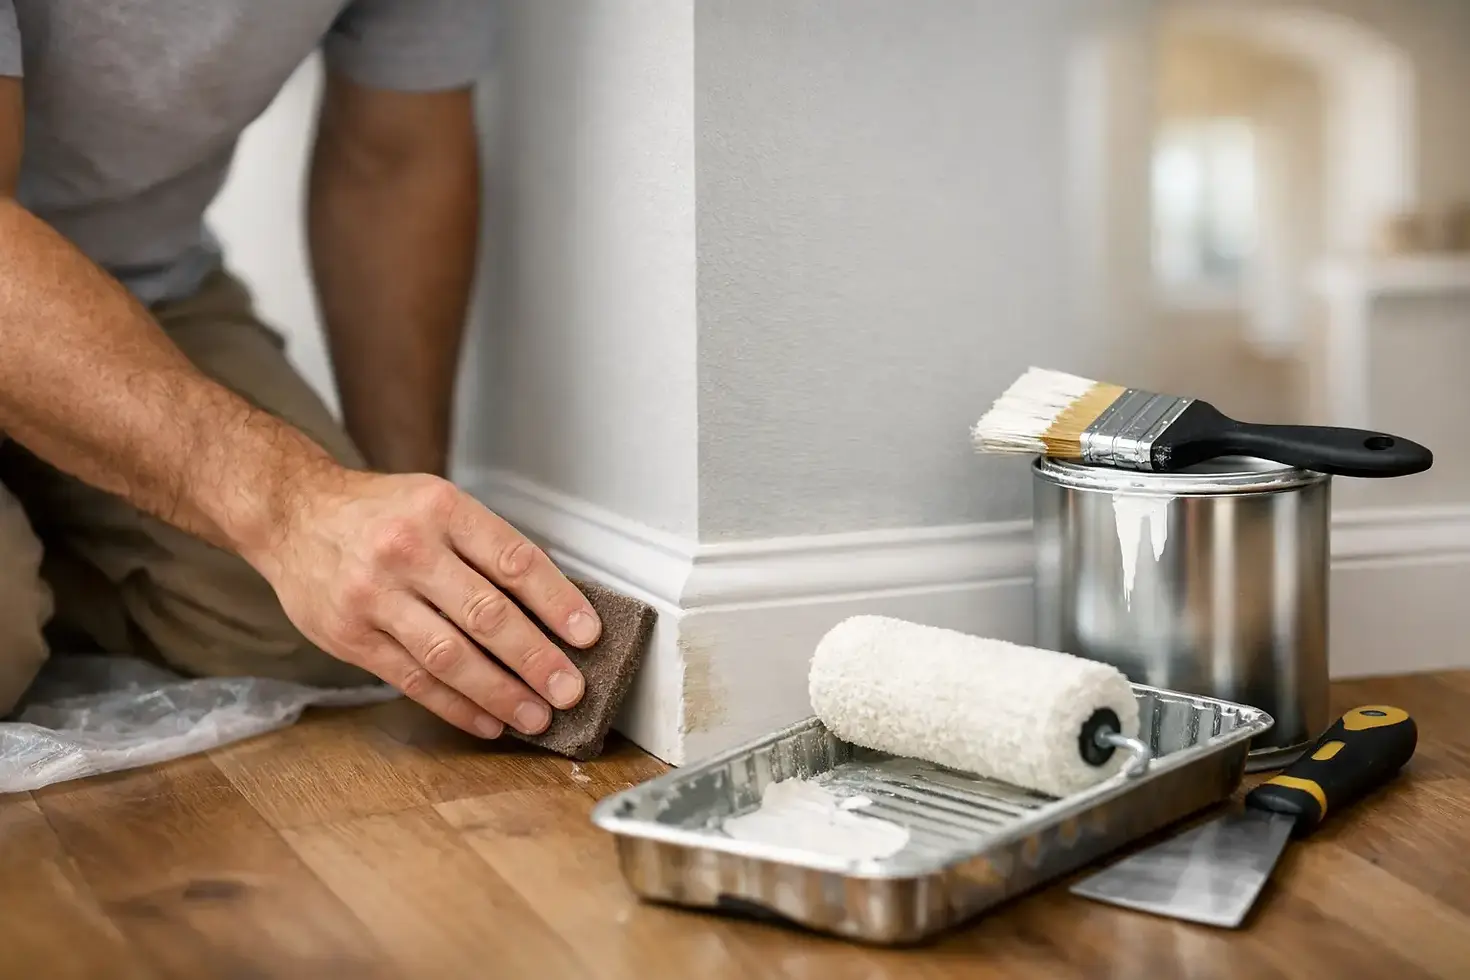
Trim Repair and Painting Done Right

Peeling fascia, cracked window trim, and soft spots around door casings usually start as small cosmetic issues. They rarely stay that way. Good trim repair and painting is not just about making a house look cleaner - it is what keeps water out, protects vulnerable edges, and gives the entire exterior or interior a finished, well-maintained appearance.
Homeowners in the Portland area deal with a lot of moisture, shifting temperatures, and long damp seasons. That climate is hard on exposed trim. Once paint fails, wood and fiber cement edges become more vulnerable to swelling, rot, separation, and staining. The fix is not simply adding another coat of paint. Durable results come from identifying damaged sections, making the right repairs, and then applying the right products with proper prep.
Why trim repair and painting matters
Trim takes more abuse than most parts of a home. Exterior trim sits at the edges of siding, windows, doors, soffits, and rooflines where water tends to collect. Interior trim gets hit by shoes, vacuums, furniture, pets, and everyday wear. Because it frames the visual lines of a room or exterior elevation, even minor defects stand out quickly.
When trim is repaired and painted correctly, it does three jobs at once. It protects the substrate, sharpens the appearance of the home, and extends the life of surrounding materials. When it is handled poorly, the opposite happens. Caulk cracks early, paint peels again, patched spots telegraph through the finish, and underlying damage keeps spreading.
That is why homeowners who care about long-term value usually want more than a cosmetic touch-up. They want work that holds up.
What proper trim repair looks like before painting
A quality paint job starts with an honest assessment. Not every damaged board needs full replacement, but not every problem can be patched either. The right approach depends on the material, the location, and how far the damage has gone.
For exterior trim, the first step is checking for soft wood, open joints, failed caulk lines, water staining, nail pops, and board separation. Around windows and doors, special attention should go to lower corners and horizontal surfaces where moisture tends to sit. On older homes, there may also be layers of failing paint that need more than light scraping.
Interior trim repair is usually more about surface quality than weather protection, but the standards still matter. Dents, chips, gaps at joints, old caulk, and rough patchwork can ruin the final look if they are not corrected before paint goes on.
Minor damage can often be repaired with filler or epoxy, followed by sanding and reshaping. Failed caulking should be removed and replaced, not painted over. Loose trim may need to be re-secured. If a board is rotted, split through, or breaking down at the edges, replacement is often the better choice. A clean replacement costs more up front than a quick patch, but it usually performs better and looks better over time.
When patching works and when replacement is smarter
This is where experience matters. A lot of trim problems sit in the gray area between cosmetic damage and material failure. You can patch a small area of isolated rot on a protected section, but if the damage is widespread or tied to an ongoing moisture issue, patching is usually temporary.
The same goes for heavily weathered trim with repeated paint failure. If the surface is chalking, cracking, and separating across multiple sections, a surface-level fix may not last through another wet season. In those cases, replacement of selected boards can create a stronger foundation for the paint system.
There is always a cost trade-off here. Repairing is less invasive and sometimes fully appropriate. Replacing trim adds material and labor cost. But repainting over unstable trim is the most expensive option in the long run because you pay for finish work that has no solid base underneath.
Surface prep is where trim repair and painting succeeds or fails
Paint gets the credit when a job looks sharp, but prep is what determines whether it lasts. That is especially true on trim because profiles, corners, and joints are the first places where shortcuts show up.
For exterior work, proper prep usually includes cleaning, scraping loose paint, sanding rough transitions, repairing damaged areas, replacing failed caulk, spot priming bare material, and in some cases full priming depending on surface condition. Glossy or contaminated surfaces need to be deglossed or cleaned thoroughly so new coatings can bond correctly.
For interior trim, prep may include removing dirt and oils, sanding to smooth old brush marks or rough patches, filling nail holes and dents, recaulk at gaps, and priming repaired or stained areas. If trim has been painted with a dark color and is being changed to white or a lighter finish, coverage may require additional coats or a higher-hide primer.
This part of the process is not glamorous, but it is what separates durable craftsmanship from a quick turnover job. Homeowners often notice the finish coat first. A professional notices whether the substrate was ready for that finish coat in the first place.
Paint selection matters more on trim than many people expect
Trim paint needs to do more than provide color. It has to resist moisture, movement, impact, cleaning, and UV exposure depending on where it is installed. Using low-grade products on trim is one of the fastest ways to end up with premature peeling, weak adhesion, or a finish that gets dirty and scuffed too easily.
Exterior trim typically benefits from high-quality architectural coatings designed for expansion, contraction, and weather resistance. The exact product depends on whether the trim is wood, composite, or fiber cement and how exposed the area is. Interior trim often performs best with enamel-style finishes that level well, cure hard, and hold up to traffic and cleaning.
Sheen also matters. Higher sheen can improve washability and highlight trim details, but it will also show more surface flaws if prep is not clean. Lower sheen can be more forgiving, but may not deliver the same crisp, durable look on doors and baseboards. There is no one-size-fits-all answer. The best choice depends on the condition of the trim, the style of the home, and how the space is used.
Common problems homeowners should not ignore
A lot of trim issues look minor until they are opened up. That is why a careful inspection matters before any estimate turns into a scope of work.
Soft wood near windows often signals repeated moisture intrusion. Cracked caulk at joints can mean movement that needs more than a surface patch. Bubbling paint may point to trapped moisture or failing layers underneath. Interior baseboards with swelling or staining can indicate past leaks, high humidity, or cleaning damage.
If these issues are treated as simple paint problems, the result is usually short-lived. The finish may look better for a few months, but the underlying defect remains. Addressing the cause before painting is what protects the investment.
What homeowners should expect from a professional process
A strong trim project should feel organized from the start. That means clear communication about what can be repaired, what should be replaced, what products are being used, and how the work area will be protected and cleaned.
It also means the crew does not rush past prep to get color on the wall or exterior faster. Professional trim work takes discipline because the details are visible. Sharp lines, smooth surfaces, tight caulking, clean transitions, and consistent coverage all come from a methodical process.
For homeowners, that process reduces stress. You should know what is happening, why it is being done, and what kind of result to expect. Companies like ELI Construction build trust by treating prep, cleanliness, and communication as part of the finished product, not extras.
Interior and exterior trim have different demands
It helps to separate these two categories because the goals are not identical. Exterior trim repair and painting is primarily about protection and weather resistance, with appearance close behind. Interior trim work is more about precision, clean finish quality, and resistance to household wear.
That difference affects product choice, repair strategy, and how aggressive the prep needs to be. Exterior surfaces may need heavier repair, deeper scraping, and more moisture-focused priming. Interior trim may require finer finish sanding and tighter visual standards because homeowners see it up close every day.
In both cases, the standard should be the same: no shortcuts, no covering defects that should have been repaired, and no low-grade materials used in high-visibility areas.
The value of doing it once and doing it right
Trim is one of those details that can quietly lift the whole house or quietly drag it down. Clean, sound trim makes siding look better, windows look sharper, and interiors feel more finished. Damaged or poorly painted trim has the opposite effect, even if the rest of the space is in decent condition.
If you are planning a repaint or you have visible trim damage, the right move is to treat repair and finishing as one connected job. Good paint cannot rescue failing material, and good repairs should not be hidden under careless finish work. When both are handled with skill, the result looks better now and lasts longer through the next season, the next cleaning, and the next round of everyday wear.
A well-executed trim project should leave you with more than fresh color. It should leave you with confidence every time you walk up to the house or look around the room.


Comments